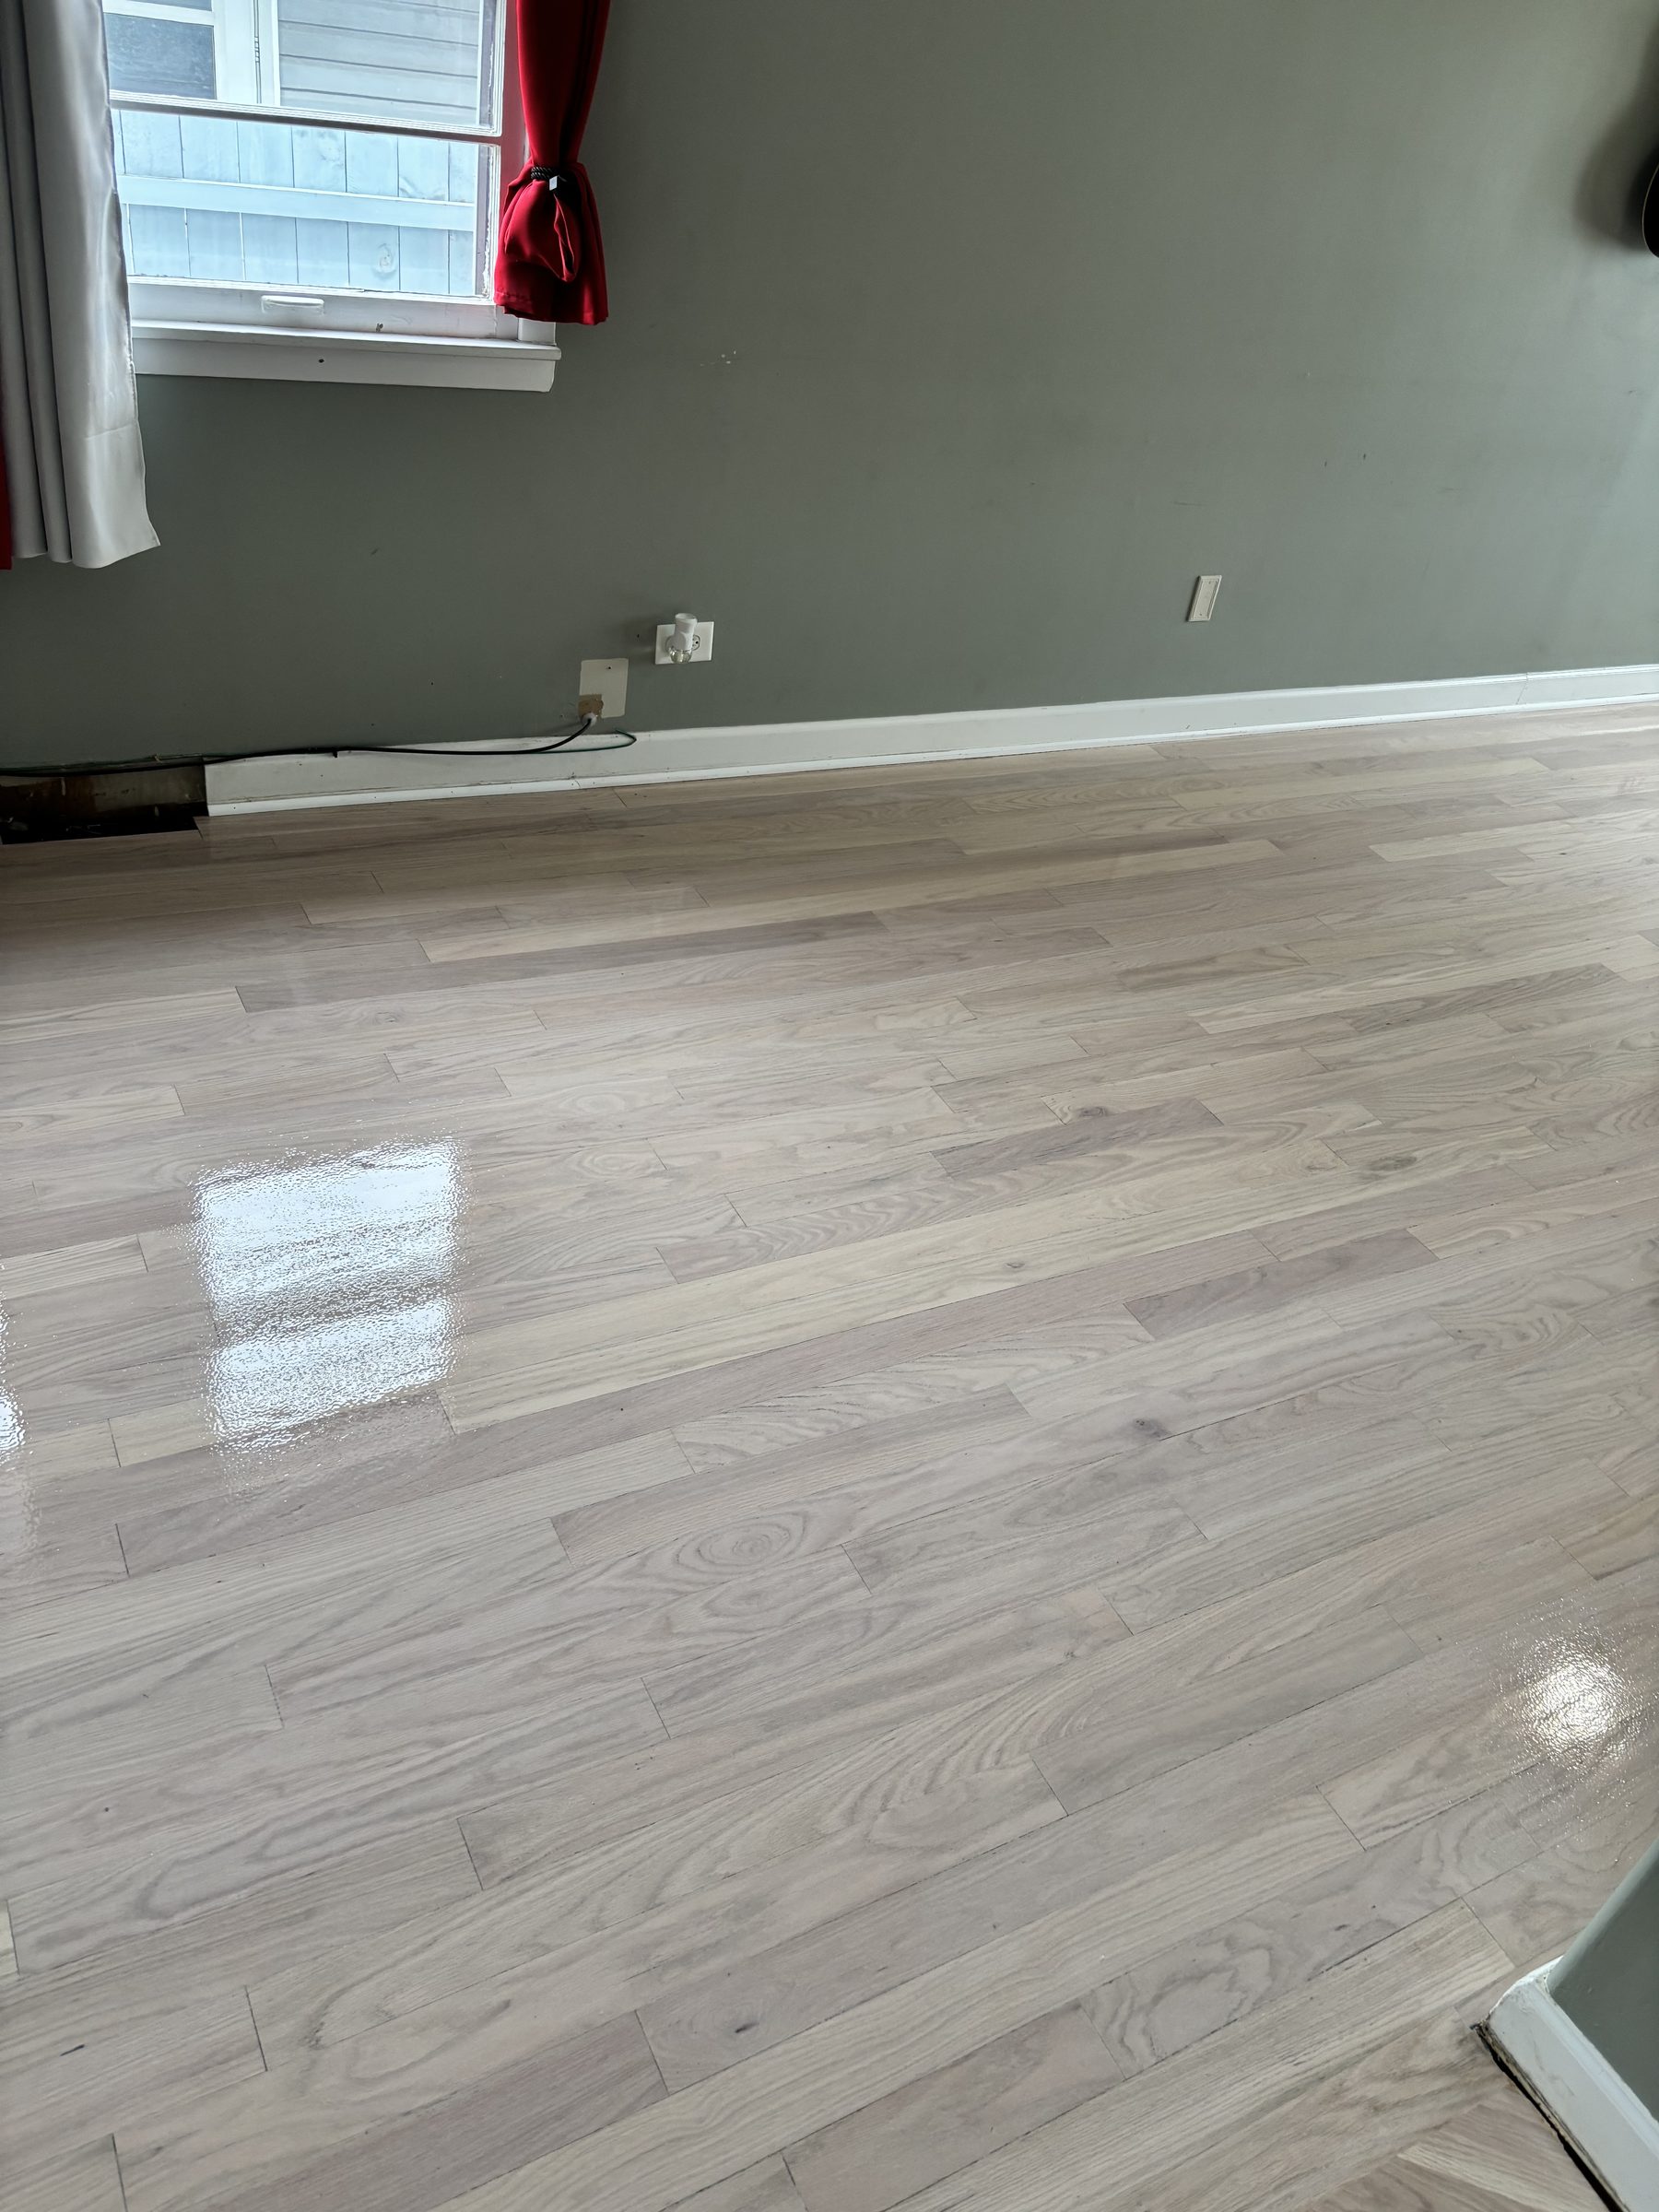
Repair, Recoat or Refinish? How to Tell What Your Hardwood Floor Needs
Some floors need boards fixed, some need a fresh coat, and some need sanding back to raw wood. Many need two of those, in a set order. Here is how to read the symptoms, from gray water stains to squeaks, and match each one to the right job.
The short answer
There are three jobs, and each one works on a different layer of the floor. Repair deals with individual boards: replacing stained, split or water-ruined pieces, and re-fastening loose or squeaky ones. A screen and recoat deals with the finish only: it scuffs the old coat and puts a new one on top, which only works while that coat is still unbroken. A full sand and refinish takes the floor back to raw wood, which removes worn lanes, scratches into the wood and old color. When a floor needs both repair and refinishing, repair always comes first, so the new boards get sanded, stained and finished with everything else.
This is a general guide to how floors behave, not a diagnosis of yours. How deep a stain goes and how much wood a floor has left can only be checked in person.
Most people who call about their floors have already decided what they need. They ask for a refinish because the kitchen looks tired, or a repair because of one bad spot by the back door. Sometimes they are right. Often the floor needs a different job, or two jobs in a particular order. Getting the order wrong is the expensive part. A refinish over a board that should have been replaced leaves a dark patch under a brand-new finish. Patching a few boards in a room that needed sanding anyway leaves you paying for blending you then sand off.
This guide is for sorting that out before anyone quotes you. It goes symptom by symptom: what each common problem tells you about the floor, which of the three jobs fixes it, and how long each job keeps you off the floor. We do all three across Naperville and the western suburbs, so we have also noted where each one usually shows up in a house around here. For the deeper detail on any single job, we link to the guides that already cover it, starting with our overview of hardwood flooring in Naperville, IL.
In this guide
- Three jobs, three layers
- Walk the floor first
- Gray and black water stains
- Cupping and boards that have lifted
- Deep scratches and worn traffic lanes
- Pet damage
- Loose and squeaky boards
- Symptom chart
- Why repair comes before refinishing
- What each job involves, and how long it takes
- Engineered floors have fewer options
- When different rooms need different jobs
- What to tell us when you call
- Common questions
Three jobs, three layers
A finished hardwood floor is boards fastened to a subfloor, with a coat of finish on top. Each of the three jobs works on one of those layers, so it helps to keep them separate.
- Repair works on boards. A board that is stained deeper than sanding can reach, split, rotted, swollen from water or moving under your foot gets fixed or replaced. A new board is woven into the existing floor so its end joints don’t form a visible rectangle. Repair can also mean work you never see, such as closing a gap between the subfloor and a joist from the basement to stop a squeak.
- A screen and recoat works on the finish. The existing coat is cleaned and lightly abraded so a fresh coat will grip it, and the new coat goes on top. No bare wood is exposed, so it can’t remove anything that is in the wood. It restores sheen and protection. It doesn’t change color.
- A full sand and refinish works on the top of the wood. Drum sanders and edgers take off the old finish and a thin slice of wood, the floor is stained or left natural, and new coats go on. It removes everything that lives near the surface. It also spends some of the wood the floor has left, which matters later, and on engineered flooring it decides whether there will be a later.
Our hardwood floor repair in Naperville covers the board work, and our hardwood floor refinishing in Naperville covers both the recoat and the full sand. Plenty of floors need something from both.
Walk the floor first
Before calling anyone, spend ten minutes on the floor in good daylight. Low light from a window, coming across the boards, shows more than overhead lights. Look for these and note the room for each one:
- Any marks that are white or cloudy, and any that are gray, brown or black.
- Boards whose edges sit higher than their centers, so the floor looks rippled across its width.
- Paths where the shine is gone and the wood looks gray or rough: in front of the sink, at the back door, down the hall.
- Scratches you can catch a fingernail in.
- Spots that creak, flex or feel hollow underfoot, and whether that happens all year or mostly in winter.
- Peeling or flaking finish, which is a different problem from wear.
None of that replaces an in-person look, but it turns “the floors look bad” into a list, and the list mostly decides which job you need.
Gray and black water stains
Water marks come in two families, and the color tells you roughly how far the water got.
A white or milky mark usually means moisture got trapped in the finish and never reached the wood. Some of these fade as they dry out. If one doesn’t, it is a finish problem, and depending on the rest of the floor it may disappear in a recoat or a full sand.
A gray, brown or black mark means the water got through the finish and into the wood. In oak the darkening is the wood’s own tannins reacting with the water, and the longer the wood stayed wet, the deeper the color tends to go. That moves it out of recoat territory entirely, because a new coat seals the stain in rather than covering it. What it needs depends on depth. A stain that stopped near the surface can come out with a full sand. One that runs deep into the board needs the board replaced, then the room sanded so the new wood blends in.
Before either, the source has to be fixed and the floor has to be dry. A floor that took a lot of water should not be sanded on the strength of a dry-looking surface. Our repair guide explains the first 48 hours after a leak and why drying comes before any repair.
Cupping and boards that have lifted
Cupping is a moisture symptom, not damage in itself. The underside of the boards has taken on more moisture than the top, so their edges rise. In a western-suburb house that usually points to humid summer air from an undehumidified basement or crawlspace, or to a slow leak.
The job here is neither repair nor refinish at first. It is finding and stopping the moisture, then waiting. Many cupped floors settle back a long way once they dry, and what is left decides the job. Mild cupping that remains once the readings are stable can usually be sanded flat as part of a refinish. Boards that have split, delaminated or lifted off the subfloor get replaced first. Sanding while the floor is still wet is the mistake to avoid: the high edges get cut down, and when the boards dry they end up low. Our cupping guide covers the causes and how long a floor takes to settle.
Deep scratches and worn traffic lanes
This is where the line between a recoat and a full sand is easiest to see, and where people most often pick the wrong one in both directions.
If the finish is dull and covered in fine scratches but still unbroken, a screen and recoat is usually the right answer. It costs far less, takes far less time, and puts back the protective coat before traffic wears through to the wood.
If a traffic lane has gone gray, the finish there is gone and the wood itself is wearing and soiling. A recoat over that seals the gray in for good. The same goes for scratches that catch a fingernail, which have cut into the wood. Both need a full sand. A full sand is also the only route to a new color, so if you have stopped liking the floor’s tone, a recoat is off the table regardless of condition.
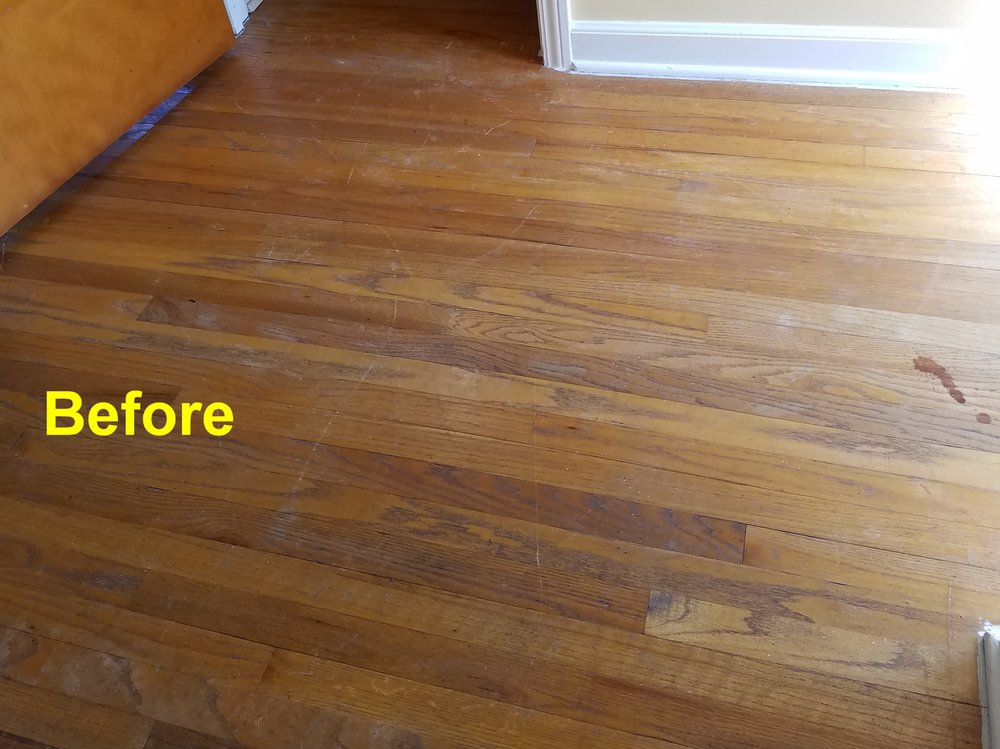
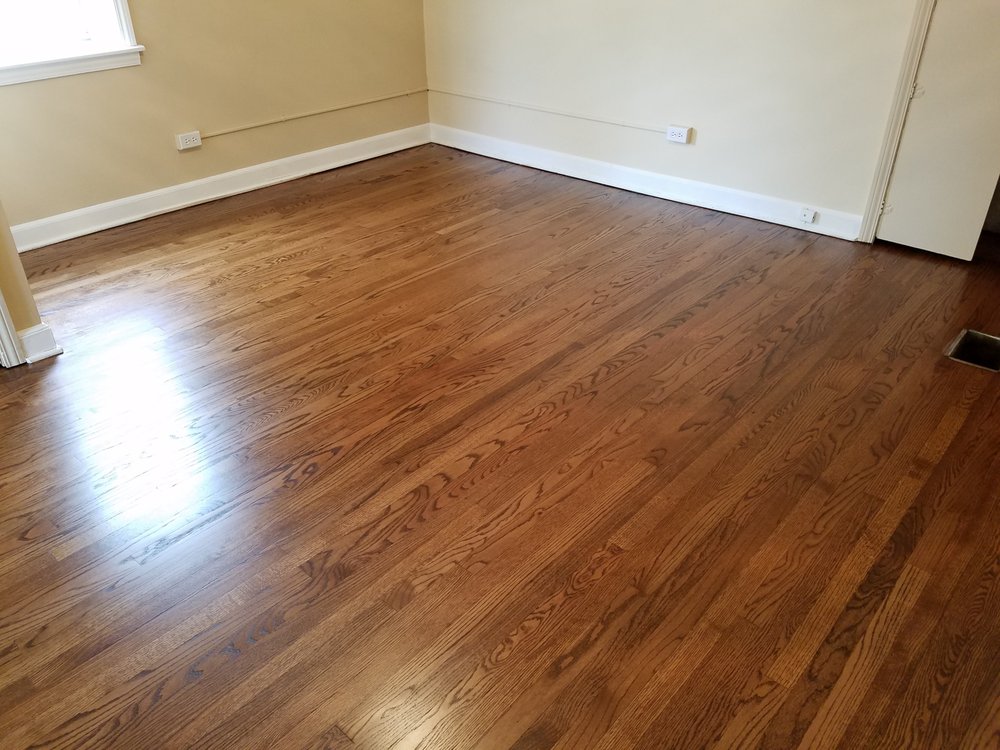
One more case: finish that peels or flakes in sheets is not wear. It usually means something under the coat stopped it bonding, often a wax, polish or oil soap used for cleaning. Products sold to “shine” or “rejuvenate” a floor can leave a film that a new coat won’t stick to. That floor needs a full sand, because another coat on top will peel the same way.
Pet damage
Pet damage usually comes in two kinds, and they need different jobs.
Claw scratches across a living area are like any other scratching. Fine ones in the finish are recoat work. Ones that have cut into the wood need a full sand. Dog owners who keep a floor on a recoat schedule often keep claws from ever reaching the wood.
Urine stains are a repair question first. The dark rings are a chemical change inside the wood, and long-standing ones routinely go deeper than any sanding can reach. Pets also tend to go back to the same spots, so one stain is often several. The realistic plan for a badly stained area is to replace those boards, deal with the subfloor under them if the odor has reached it, and then refinish the room so the new boards disappear. Our repair guide explains why pet stains often do not sand out.
Loose and squeaky boards
Squeaks and boards that move underfoot are always repair work, because no amount of sanding or finish changes what is happening underneath. The question is only when it gets done.
- Fixed from below. Where there is an unfinished basement under the floor, a squeak caused by the subfloor separating from a joist can often be fixed from underneath without touching the finished surface. That repair can happen at any point, before or after a refinish.
- Fixed from above. When the fix means fastening through the face of the floor and filling over it, or replacing a board that has split at the tongue, do it before a full sand. The fills and new wood then get sanded and finished with the room, rather than showing up as fresh spots on a new floor.
A floor that squeaks mostly in winter and has even gaps between boards may simply be drying out with the furnace running. That is normal seasonal movement, not a repair, and it is worth ruling out first.
Symptom chart
The usual first job for each symptom. A floor with several symptoms usually needs a combination, done in the order described in the next section.
| What you see | Usual job | Notes |
|---|---|---|
| Dull finish, fine scratches | Screen and recoat | Only while the coat is unbroken everywhere |
| White or cloudy water mark | Wait, then recoat or sand | Moisture in the finish; some fade on their own |
| Gray traffic lane | Full sand and refinish | A recoat seals the gray in |
| Scratch that catches a nail | Full sand, or a board if deep | It has cut into the wood |
| Gray or black water stain | Dry out, then sand or replace | Depth decides; checked in person |
| Pet urine rings | Board repair, then refinish | Often deeper than sanding reaches |
| Cupping | Fix moisture, wait, then decide | Never sanded while wet |
| Peeling or flaking finish | Full sand and refinish | Usually a contaminated surface |
| Squeak or loose board | Repair | From below anytime; from above before a sand |
| Want a different color | Full sand and refinish | A recoat cannot change color |
General guidance on how floors behave, not an assessment of your floor.
Why repair comes before refinishing
When a floor needs board work and a full sand, the order is fixed: repair, then sand, then stain, then finish. There are three reasons, and they are all about how the finished floor looks.
- One finish over old and new wood. Replacement boards arrive raw, or with a factory finish that won’t match an older site-finished floor. When they go in before the sanding, the sander levels them with the boards around them and the same stain and coats go over everything. Done the other way round, every new board needs its own stain match and spot finish, and a spot finish rarely matches a full one in sheen.
- Flat edges where old meets new. A new board never sits exactly level with its neighbors. Sanding after the repair takes out that small lip. After a refinish it stays, and you can feel it with bare feet.
- The sanding shows what else needs doing. Taking the old finish off sometimes shows a stain that went deeper than it looked, or a board that was cracked under the coat. With the repair crew still on the job, those get fixed before stain goes on. Found later, they mean sanding the room again.
The exception is a recoat. A recoat doesn’t sand to bare wood, so new boards in a floor that is only getting a recoat have to match on their own. On a site-finished floor that means staining and finishing them to blend before the recoat goes over the room. On a prefinished floor it means finding the same product, because there is no site stain to adjust.
What each job involves, and how long it takes
How long you are kept off the floor is often what decides between two jobs that would both work.
Repair
A spot repair in one area is often a matter of hours. Replacing a group of boards takes longer, because the damaged pieces have to be cut out without disturbing their neighbors and the new ones fitted in. Matching material for an older or unusual floor can add lead time before the work starts. Water damage adds the longest wait of all, which is the drying time before any work begins: days for a small appliance leak, weeks for a big one. Squeak repairs from a basement often don’t disturb the room above at all.
Screen and recoat
The shortest of the three. Our refinishing cost guide covers what a recoat involves and why it is usually done in a day. There is no drum sanding and no bare wood, so there is far less dust than a full sand, though the room still has to be emptied and the new coat still has to cure before furniture and rugs go back.
Full sand and refinish
Several working days for a typical main floor, in a set order: prep and coarse sanding, finer sanding and edge work, stain if you are changing color, then the finish coats. Our cost guide walks through a day-by-day timeline. Then comes the cure, which people underestimate. In general you can walk on it in socks after about 24 hours, furniture goes back after about 72 hours, and rugs wait about two weeks. Finishes differ, so ask for the cure schedule of the product actually being used. Board repairs done first add their own time at the front of the job.
Engineered floors have fewer options
Everything above assumes a solid floor with wood to spare. Engineered flooring changes the menu, because only the top layer is real wood.
- Repair: still available. Damaged engineered boards can be replaced like solid ones. The catch is blending: if the floor can’t be sanded afterward, the new boards have to match on their own, which usually means finding the same product.
- Recoat: available on most engineered floors whatever the wear-layer thickness, because no wood is removed. On a factory-finished floor it takes proper adhesion prep, since those finishes are made to resist things sticking to them. Our finishes guide explains why recoating a prefinished floor is its own job.
- Full sand: only if there is enough wear layer. Hardwood Floors magazine, the NWFA’s publication, puts a traditional sanding at 1/32″ to 1/16″ of wood. It says sanding is not recommended below a 3/32″ wear layer. Sanding through the face exposes the core, and the only fix after that is new boards.
In practice that makes the recoat far more valuable on an engineered floor. Caught early, it can protect a floor that may never be sandable. Our guide to engineered vs. solid hardwood has a wear-layer table and how to check yours at a floor vent or threshold.
When different rooms need different jobs
Wear is rarely even through a house. The kitchen and back hall take a beating while the dining room and bedrooms barely change. It is reasonable to give the worn areas a full sand and the rest a recoat, as long as two things are planned.
Where the change happens. A freshly sanded floor won’t look identical to one that was only recoated. The old finish has aged and the new one hasn’t, and if the sanded area is being stained a new color the difference is obvious. The break should fall where your eye expects one: a doorway, a threshold, or a change in board direction. Open plans common in 1990s and 2000s homes in Plainfield, Oswego and Aurora often have no natural break between kitchen, family room and hall, which can push a “kitchen only” sand to cover the whole open area.
Stairs and landings. If the treads are oak and the main floor is getting a new color, the stairs usually have to be done in the same project or the house ends up two-toned. Our stair and fixture refinishing page covers treads, risers and railings.
What to tell us when you call
A few details make the first conversation far more useful, and some of them can only come from you:
- The list from your walk-through: symptoms and rooms.
- For any water mark, what caused it, when, and whether the source is fixed.
- How the floor has been cleaned, including any polish, wax or “shine” product, because that can rule out a recoat.
- Whether you know the floor is solid or engineered, site-finished or prefinished, and roughly how old it is.
- Whether it has been sanded before, and how many times if you know.
- Whether you want to keep the current color or change it.
- Any deadline: a move, a listing date, a holiday with guests. It decides which job fits.
We do estimates across DuPage, Will and Kane County, and you can see finished floors in our project gallery. If you are still deciding whether it is worth it, our hardwood floor refinishing cost guide covers what moves the price, and our hardwood floor repair guide goes deeper on board replacement and matching. When you are ready, send the list with your estimate request.
Repair, recoat or refinish?
We will check how deep the damage goes, whether the finish can take a recoat and how much wood the floor has left, then tell you which job it needs and in what order. Free in-home estimates across Naperville and the western suburbs.
Repair vs. Refinishing Questions
Not for the dull part, but the black spots decide it. They are in the wood, so a recoat cannot reach them. One option is to replace the stained boards, stain and finish them to blend, and recoat the rest. That can work on a site-finished floor when the spots are somewhere low-visibility. The version that truly disappears is replacing the boards and then giving that room a full sand, so old and new wood share one finish. Which one makes sense depends on where the spots are and how well the floor can be matched, which our floor repair estimate checks.
When the room is getting a full sand, yes. That is the reason repairs go first. The new boards go in, the whole room is sanded so they sit level with their neighbors, and the same stain and finish coats go over everything. If the rest of the floor is only getting a recoat, the new boards are stained and finished to blend on their own before the recoat goes over the room.
No. Cupping is a moisture symptom, and once the source is fixed and the floor dries, many cupped floors settle back a long way. Mild cupping that remains once the moisture readings are stable can often be sanded flat during a refinish. Boards are replaced when they have split, delaminated or come loose from the subfloor. What should not happen is sanding while the floor is still wet. Our gaps and cupping guide explains why.
Yes, and it is the cheapest way to make a refinish last. A screen and recoat adds a fresh coat before traffic wears through to the wood, so the next full sand can wait until the floor is actually damaged or you want a new color. How often depends on traffic, pets and grit, and busy kitchens and entries need it sooner than bedrooms. Clean with a residue-free hardwood cleaner rather than polish or “shine” products, which can leave a film a new coat will not bond to. Our refinishing team can tell you when a floor is due.